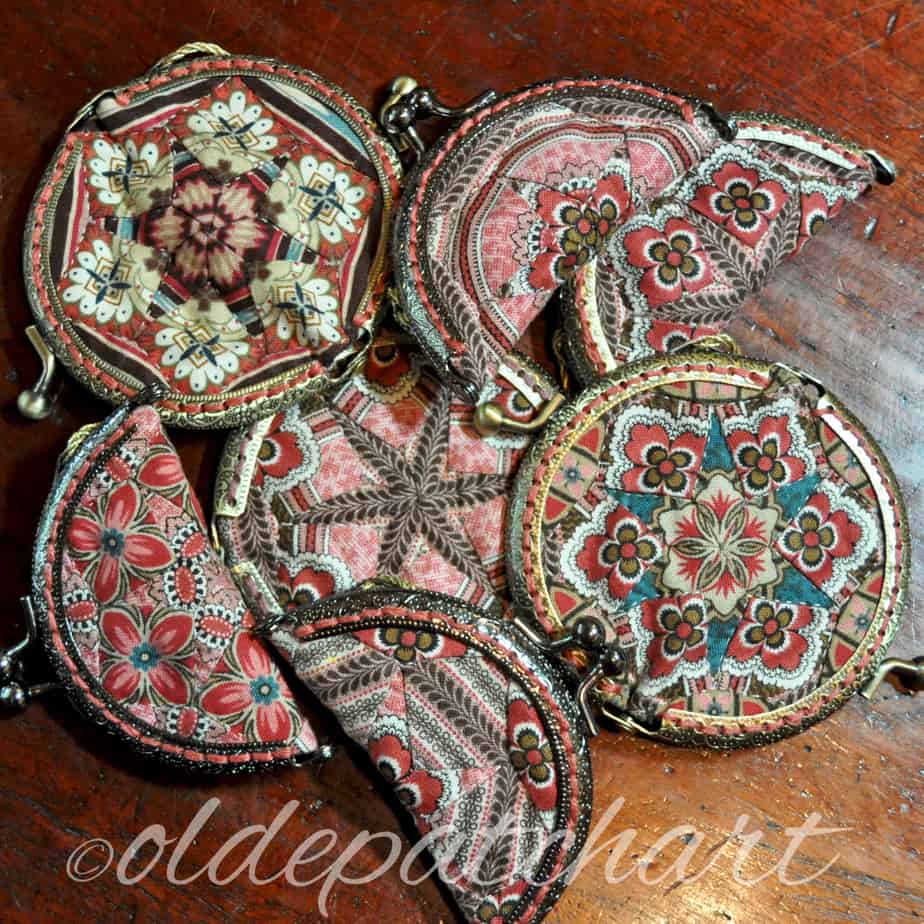
I have written this blog post-tutorial to share how I made my Starmania metal frame needle cases.
I first spied this idea on Instagram when Saskia of threads_and_quilts posted this gorgeous example she made which was inspired by this beautifully embroidered needle case on Instagram.
Saskia has also written a how-to post that you can find on her Instagram profile.
As soon as I spotted it I knew I wanted/needed to make one - promptly ordering my own metal coin purse frames that same day.
The ones I ordered measure approx. 3.35" (8.5 cm) wide.
The frames took about three weeks to get here and the day they arrived, Susie of fixer_of_old_quilts posted her equally as beautiful hexie needle purse.
That's when I knew we had 'a thing' going on here!

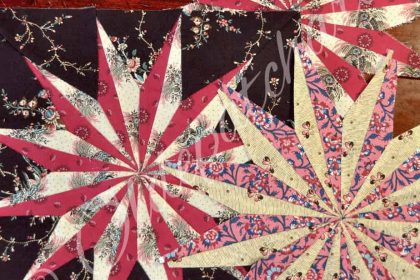
I worked out that my mini Starmania blocks would be the perfect size for this project.
Of course you can use any quilt block you like.....I tried a 3/4" hexie rosette but it was a smidge too small.
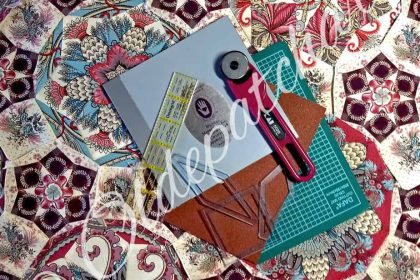
I used my 3.5" Starmania template set to hand piece the blocks....you could elect to use the EPP papers of course!
You will need to oversize your outer seam allowances to 1/2" which will allow for a smidge extra length - (reason for this will follow).
For this size coin purse frame the width of my 'circle' including seam allowance ends up approximately 4" wide x 4.25" long.....so kind of an oval really.
However to ensure accuracy you are best to trace your own frames as described below.
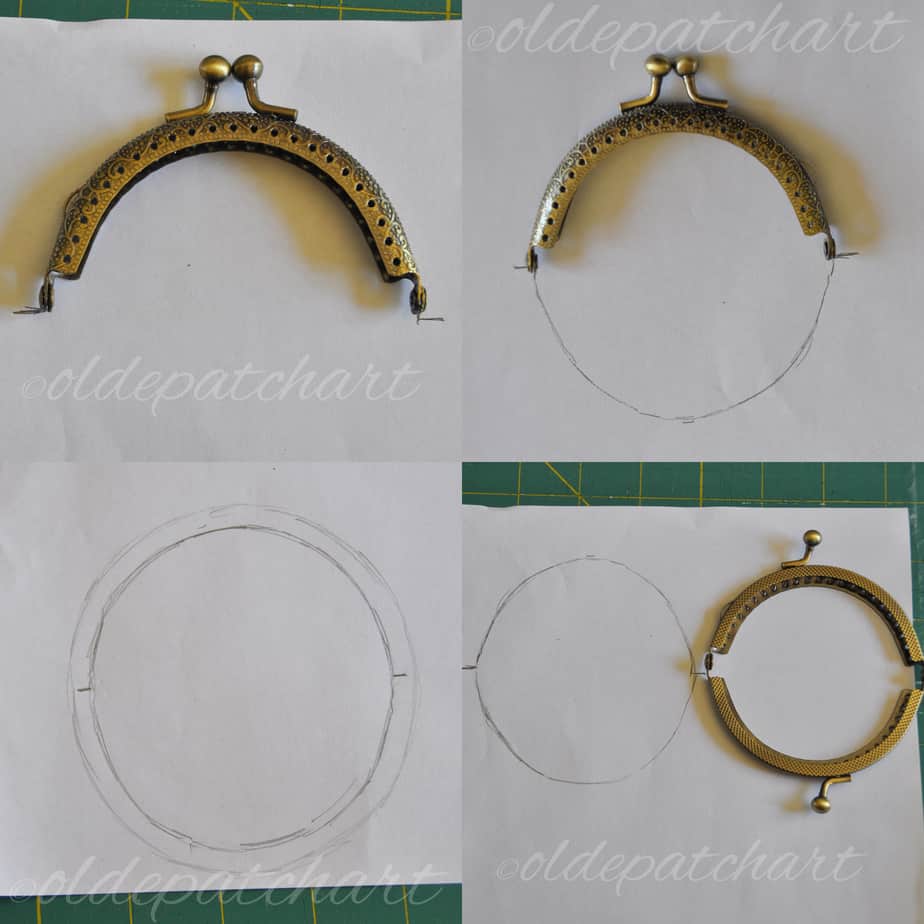
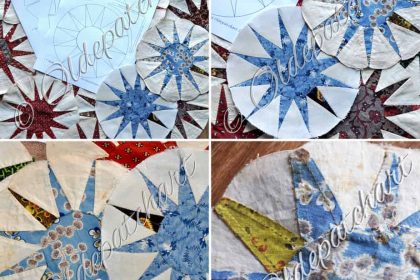
After stitching your quilt block the next step is to trace your frame.
Now this is key: close your frame and trace around the outside of the top half of the frame....marking the bottom of the hinge as shown.
Then flip your frame, match to that mark and trace the second half - again including the hinge.
Next add your quarter inch seam allowance.
Note: If you just open out your frame and trace it, the purse insert will end up a smidge too short for the frame.
See the size comparison in the lower left photo: your pattern should be a little more of an oval than it is circular.
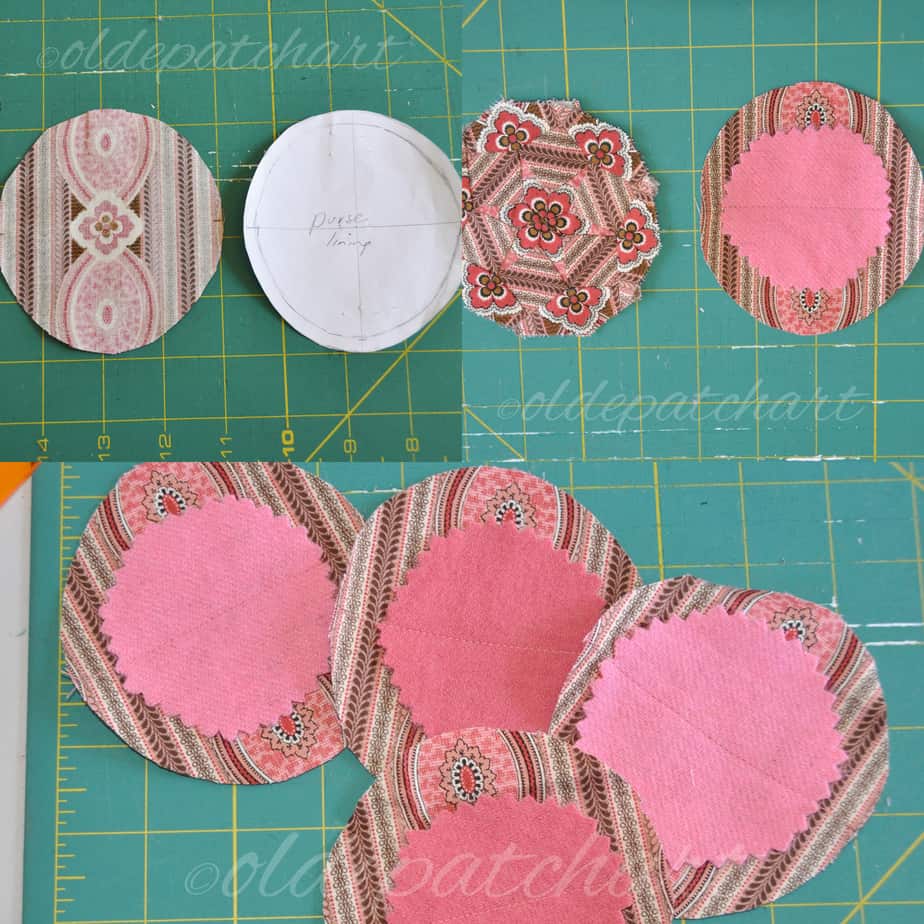
Cut a felt circle.....can we just take a moment to chuckle over my pinking!
The only pinking shears I could find were my mother's left handed pair or a massive clunky pair of vintage Weiss'.
Kinda wishing now that I had just cut plain circles.
Oh well it all adds character I guess.
Use your traced pattern to cut your purse lining.
Copy the markings from your pattern across onto the lining to show both the orientation and positioning of the hinge centre.
Follow these hinge markings to attach your felt circle to the right side of the lining.
I used the sewing machine for this step.

Place your block & case lining right sides together - (the felt circle will be snug in the middle at this point).
Sew with a quarter inch seam allowance using a shorter stitch length on your machine.
Make sure at this point that you have left an opening which will allow you to turn your work right sides out.
I found 1.5 inches to be a good sized opening.
Note: this opening should not be located near either of the two hinges so as to hide your whip stitches.
Turn your block right sides out and carefully ease out any 'corners' with a stiletto.
Whip stitch the opening closed and press.
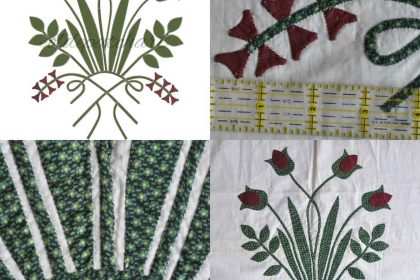
Now would be the perfect time to add your quilting stitches.
I chose to quilt the star points and outer diamonds.
It's easy to flip your felt circle out of the way as you hand quilt......just take care of course if machine quilting.
Because this is such a teeny tiny purse I decided not to use any batting......that choice is your's of course.
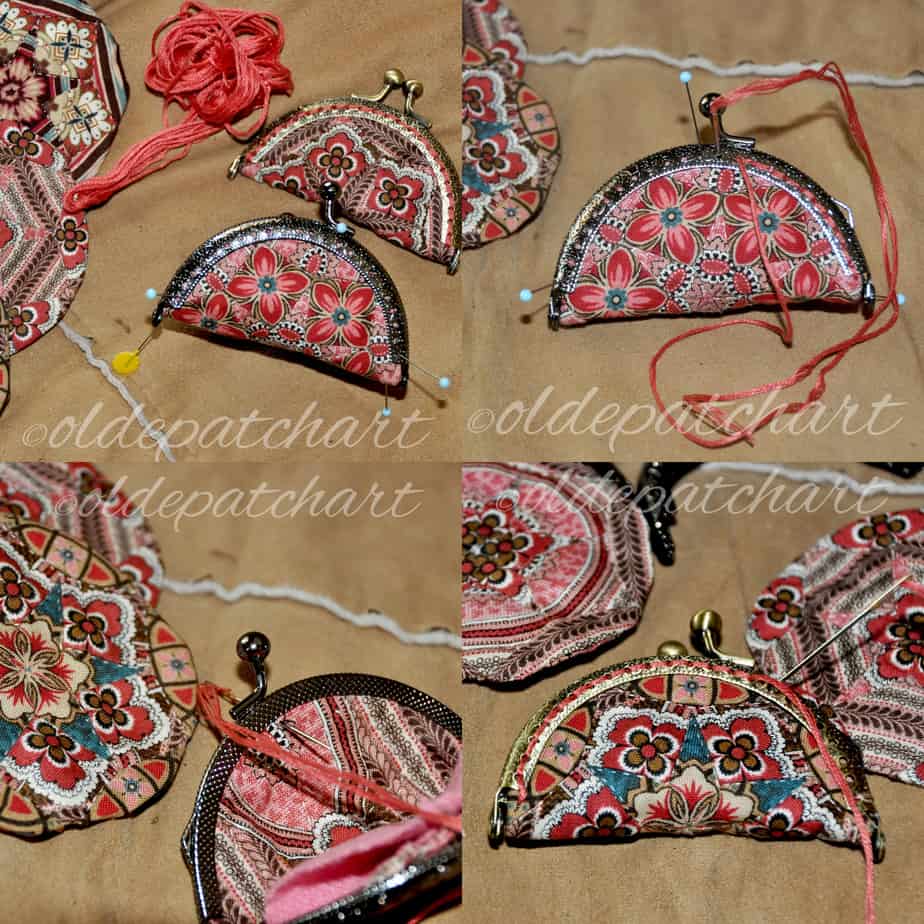
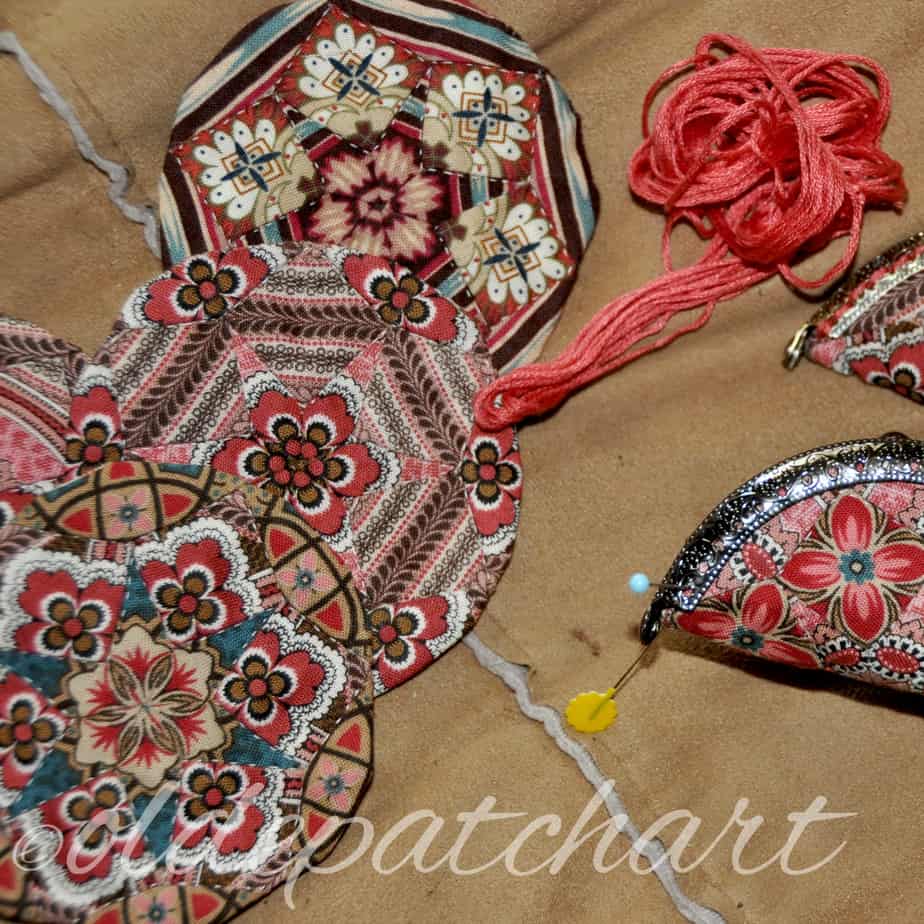
This is where it gets exciting - it's now time to sew your prepared block into the purse frame!
To line it all up correctly, it's crucial to close your frame and ensure that your block meets down at the bottom of the hinge on both sides.
In these photos I used pins at the four hinge corners as well as in the centre of the frame: however after sewing this purse I found tacking to be more secure.
So again, tack your block in all four places at the hinge joint with the frame closed to ensure it will meet at the bottom of the frame.
If you google videos re attaching metal purse frames they advise tacking the whole frame - but hey who's got time for that!?
I used embroidery thread to attach mine but you can also use poly filament to hide the stitches or just regular thread.
This part of the process is quite time consuming, I am not going lie.....however look at that result!
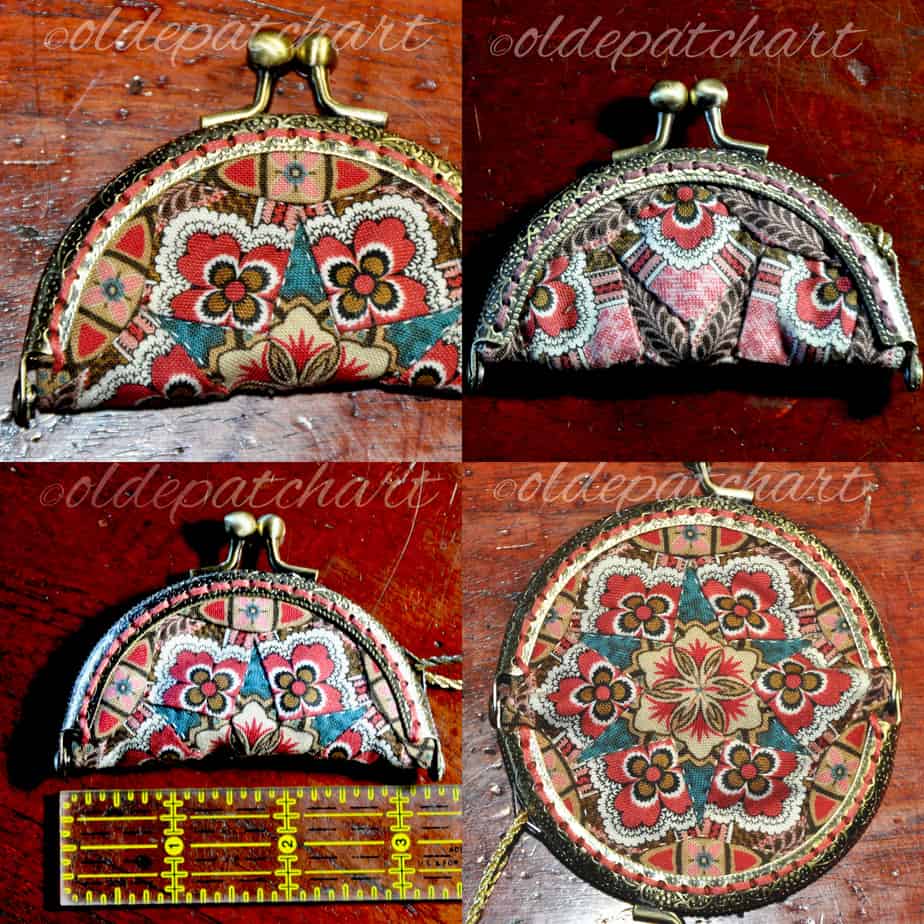
I made this photo collage to show what I mean re your block needing to meet at the bottom of the two hinges as mentioned above.
The top right photo shows my very first attempt where I had traced my pattern with the frame opened - you can see that it ended up too short.
Yep you're right.....I DO plan to go back and fix that lol!
Also note how much smaller the case is on the right.
Using this tracing method hack will both look neater and also allow more area to store your pins & needles.

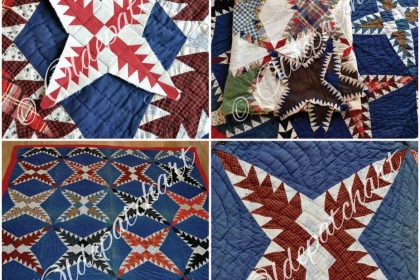
Last of all a shameless plug showing my cute little Starmania blocks framing this dolly quilt.
Perhaps you might prefer to use them as an inner border in a medallion quilt?
This is a project I started on retreat with Leah Zieber earlier this year: I decided to customise the border of my quilt using my mini Starmania blocks.
If interested you can purchase the pattern for Leah's Medallion Rings here.
Here's a link to my Starmania pattern and mini templates for handpiecing.
Alternatively here's a link to the pattern and papers if you prefer to EPP your block.
Starmania templates &/or papers are also available from my Etsy store if you prefer to purchase them there.
Lastly here is the link re the eBay seller that I purchased my metal coin purse frames from. This seller includes free shipping to Australia.
You may also find these frames are available at your LQS.
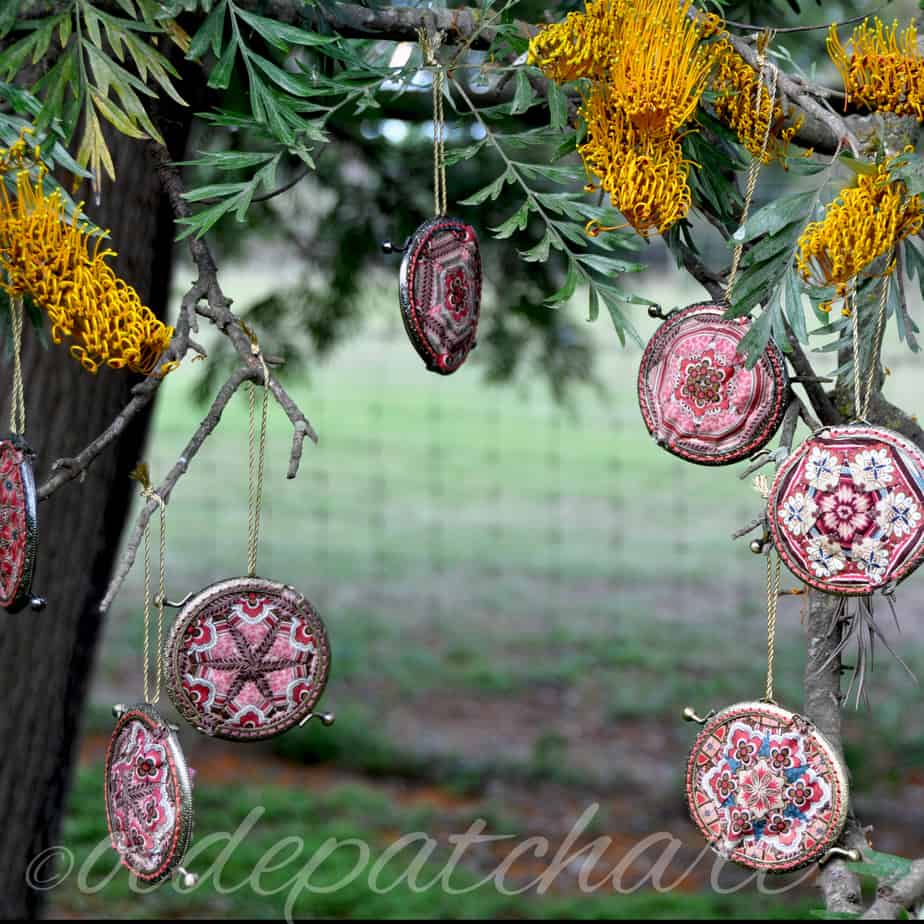
Hope you have fun making your very own Starmania metal frame needle case.
There's always room for a little extra cuteness in our lives and this project really fits the bill.
Careful they are very addictive!
Please message me or comment below if you have any questions or comments.
You can also check me out on Instagram: Paula Cochrane - oldepatchart
Love love your work Paula!! Great blog, easy instructions !!!
Thanks so much Judi really appreciate the love! Glad you found the blog/instructions easy to follow. Hopefully you get to make your own cutie soon.